
Accurately measuring strength is an essential part of any injury evaluation or performance assessment.
Strength assessments can be used to establish a baseline, monitor progress, and determine return-to-play criteria. So being as accurate as possible is crucial to me.
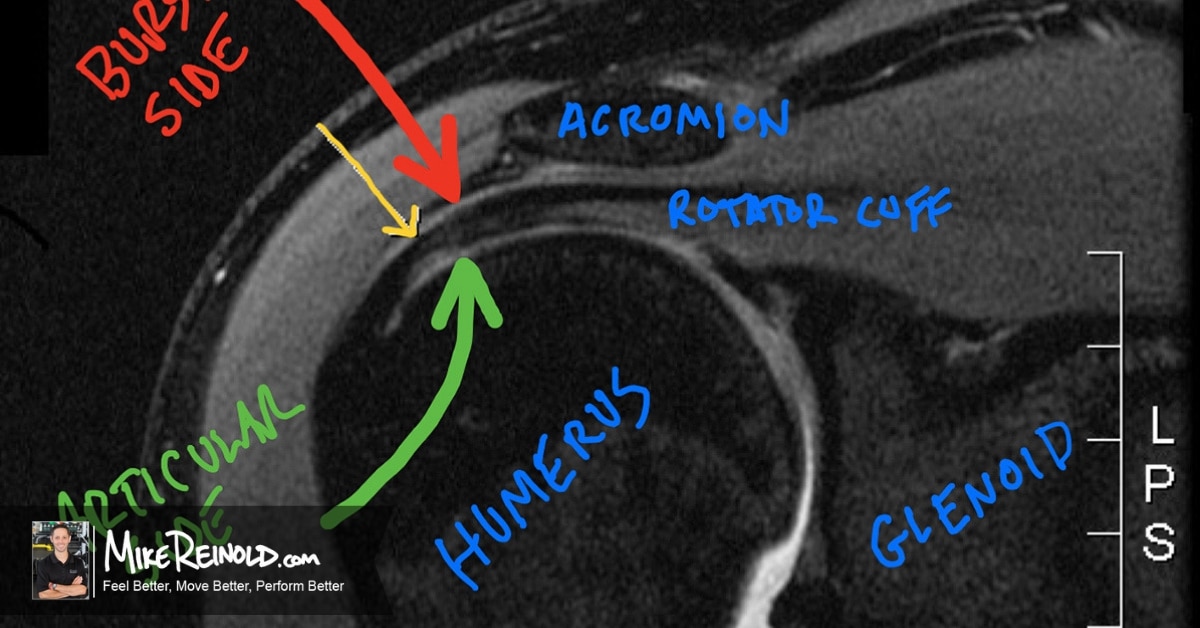
I’ve done some unpublished research in the past that showed it took approximately a 15% deficit in shoulder strength to detect a 4/5 with manual muscle testing. Think about that; you could be over 10% weak and not even be able to tell.
That’s why I’m a big fan of using a handheld dynamometer. I want to quantify the exact strength values as best as possible. I don’t want to miss that 15% deficit.
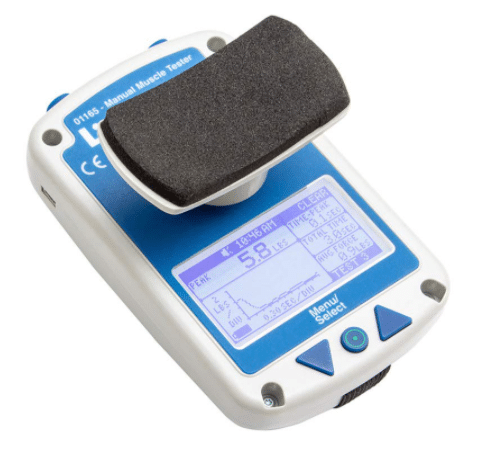
[Side note: For those wondering, I’ve been using the Lafayette Handheld Dynamometer for years with excellent results.]
The Problem with Handheld Dynamometers
Past research has shown that handheld dynamometers can be as reliable and valid as the gold standard of isokinetic testing.
But, there’s one problem with using a handheld dynamometer. It’s easy to get poor results.
To be as reliable as possible with your measurements, I have found it takes a lot of practice. You must follow a strict protocol to ensure you are consistent.
3 Keys to Using a Handheld Dynamometer
The key to measuring strength with a handheld dynamometer is to be as consistent as possible throughout the entire process — everything you say or do matters and can change your results.
If you want to compare your results with others, this becomes even more important. A consistent process assures that your inter-rater and intra-rater reliability is as high as possible.
Here are the three keys to being as reliable as possible when using a handheld dynamometer.
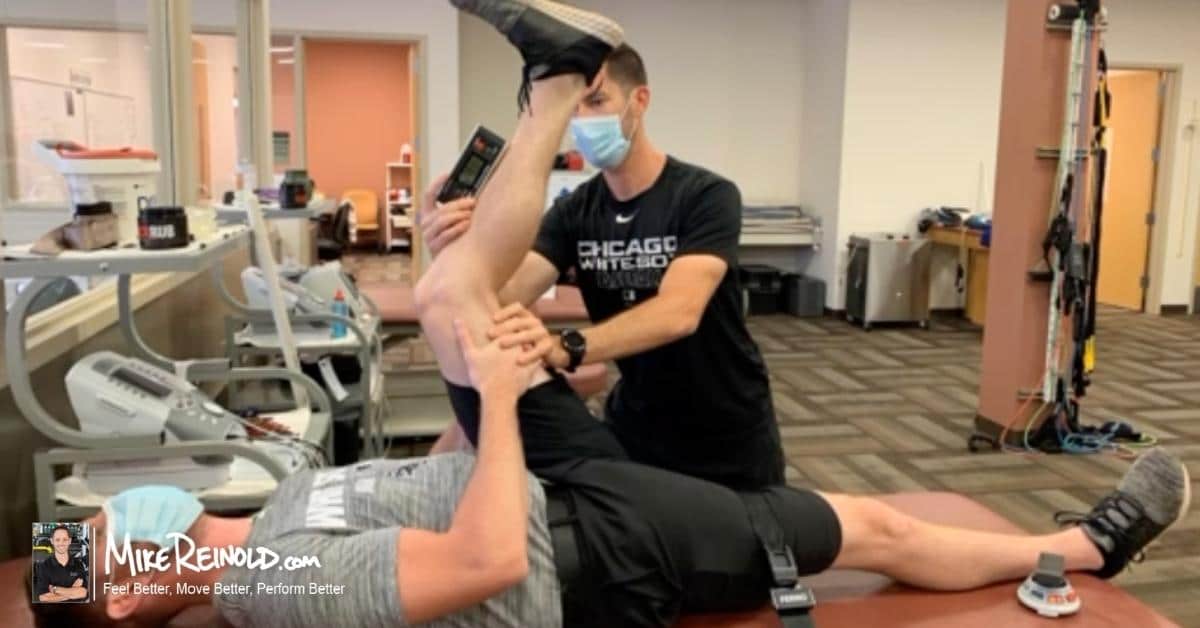
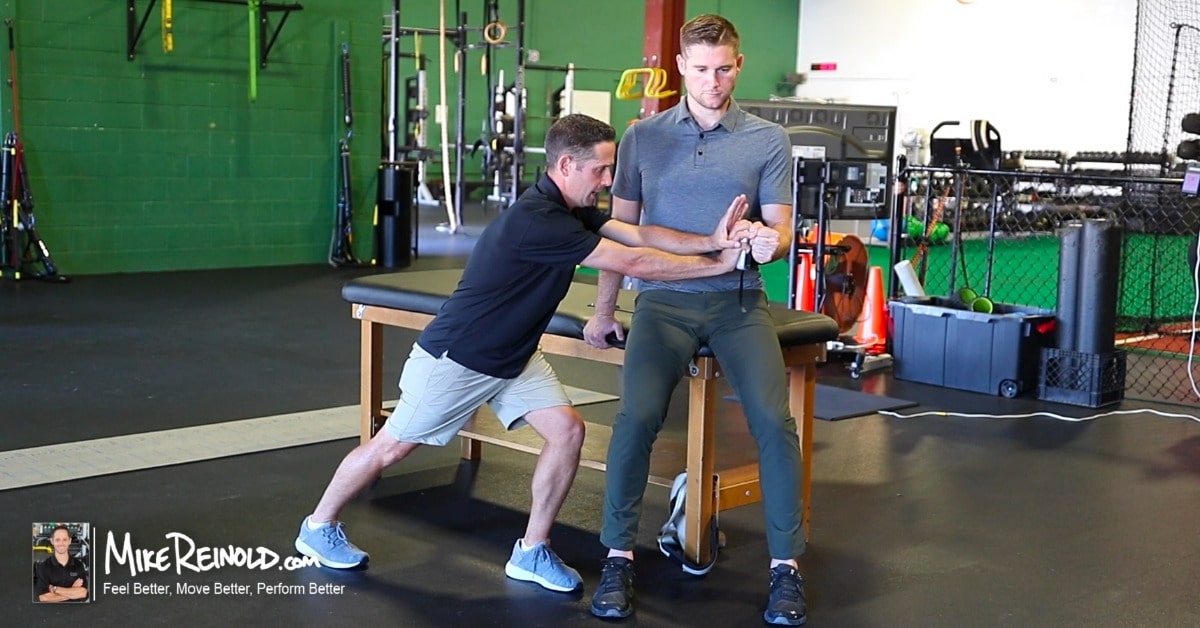
Consistent Set Up
The first key is to ensure your setup is as consistent as possible. At the very least, you need to ensure that these are consistent:
- Postion of the person
- Stabilization of the person to avoid compensations
- Position of the handheld dynamometer on the limb
- Position of yourself to stabilize the dynamometer
Consistent Instructions
Once the person is set up, your instructions on how to perform the test should be consistent as well. That’s my second key.
Instructions should include the direction you want the person to move their limb and specifics as to how to perform each test repetition.
For example, I like to tell people to ease into the test, push as hard as possible, and then slowly ease off the test. This has proven to me to be more comfortable and smooth to get a consistent strength value.
Consistent Motivation
What if I were to tell you I could get you to increase your strength by almost 10% in an instant?
Another unpublished study I performed showed that the amount of motivation you provide to the person testing could yield up to 10% more effort. That’s a ton.
If you want to measure their maximum strength, you need to offer motivation. At Champion, we rally behind this concept and put on a show.
We want to pump the person up as much as possible, so we’re usually yelling at them during the test to PUSH, PUSH, PUSH! It’s not uncommon for other clients to get in on this, as they are all familiar with testing with us.
Consistent Process for Consistent Results
If you want to get the most out of strength testing using a handheld dynamometer, you must be consistent.
Becoming good at using a handheld dynamometer takes tons of practice, but you will get better and better with time.
If you want to learn exactly how I perform strength testing using a handheld dynamometer, I have an inservice showing you everything I do in detail in my Inner Circle.
I go over everything, show examples of me performing the testing, and highlight all the possible compensations you’ll see. Learning these tips will save you tons of time and help you get more consistent much faster.
In addition to this presentation, Inner Circle members get over 100 more videos just like this, plus access to my exclusive community to ask me questions and interact with other like-minded people. All for less than $15!